Mask sensitive data
Wrap cards, passwords, or PII with RedactedZone(child: …):
they're blacked out in captures without changing your UI.
The most common way to start: continuous telemetry from your app in production. 2 steps and one init.
Record the user's journey with screenshots and taps, and play it back in the viewer. 3 extra lines.
Try the library with no account and no token: export an encrypted file and open it in the web viewer.
It's published on pub.dev/packages/flog_flow. It works on Android, iOS, macOS, Windows, and Linux.
flutter pub add flog_flowSign in with Google (10 seconds, no
card), press Create project and copy the flw_… token
shown under its name. That token identifies your app: it's the only thing you
need to paste into your code.
No session recording, minimal weight. Initialize once and log from anywhere in your code.
import 'package:flog_flow/flog_flow.dart';

Future<void> main() async {
  WidgetsFlutterBinding.ensureInitialized();

  await FlogLogs.init(
    projectToken: 'flw_YOUR_TOKEN_HERE',
    service: 'my-app',
    env: 'prod',
    version: '1.0.0',
    captureCrashes: true,  // automatic emergency on every crash
  );

  runApp(const MyApp());
}// logname identifies the module emitting the log (auth, payments, http…)
FlogLogs.info('session started', logname: 'auth',
attributes: {'userId': 'u_123'});
FlogLogs.warn('token about to expire', logname: 'auth');
FlogLogs.error('payment declined', logname: 'payments',
error: e, stackTrace: st,
screenshot: true, // attaches a screenshot (optional)
attributes: {'orderId': 'o_9', 'amount': 25.5});emergency with a stack trace immediately.screenshot: true? The screenshot
needs your app wrapped in FlogFlogScope
(the 2 lines from path B, step 1):
MaterialApp(builder: (context, child) => FlogFlogScope(child: child!)).
Without the scope, the log arrives with no image and the SDK warns you in the console.Go to your project → the
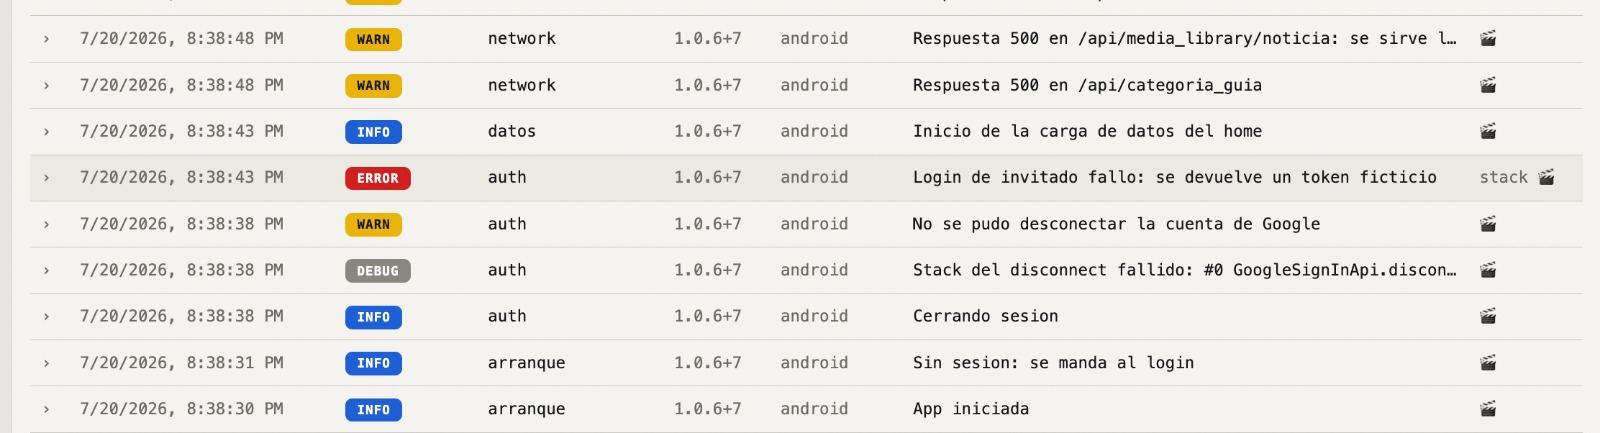
Logs tab: filters by level and logname, full-text search, stack traces,
attributes, screenshots, and volume per hour. Tip: set global attributes after
login with FlogLogs.setGlobalAttribute('userId', id).
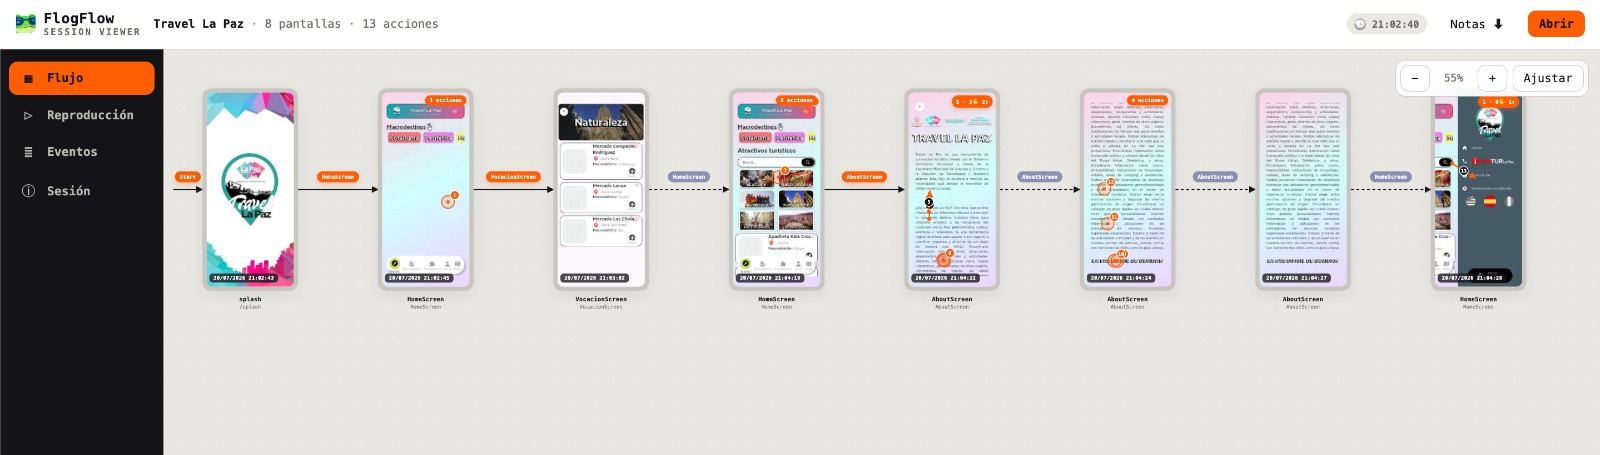
Screens, numbered taps, navigation, and errors — uploaded automatically and replayable in the viewer straight from the dashboard.
MaterialApp(
  // observes navigation between screens
  navigatorObservers: [FlogFlow.instance.navigatorObserver],
  // captures taps + screenshots
  builder: (context, child) => FlogFlogScope(child: child!),
  home: const HomePage(),
);GoRouter(observers: [...]). With GetX:
GetMaterialApp forwards navigatorObservers just the same.await FlogCloud.start(
projectToken: 'flw_YOUR_TOKEN_HERE',
encryptionPassphrase: 'PROJECT-PASSPHRASE', // everything travels encrypted
appName: 'MyApp',
appVersion: '1.0.0',
);Dashboard → Sessions tab → View flow button: wireflow of the journey, step-by-step replay with a timeline, and every error with its stack trace and screenshot. Nothing to download.
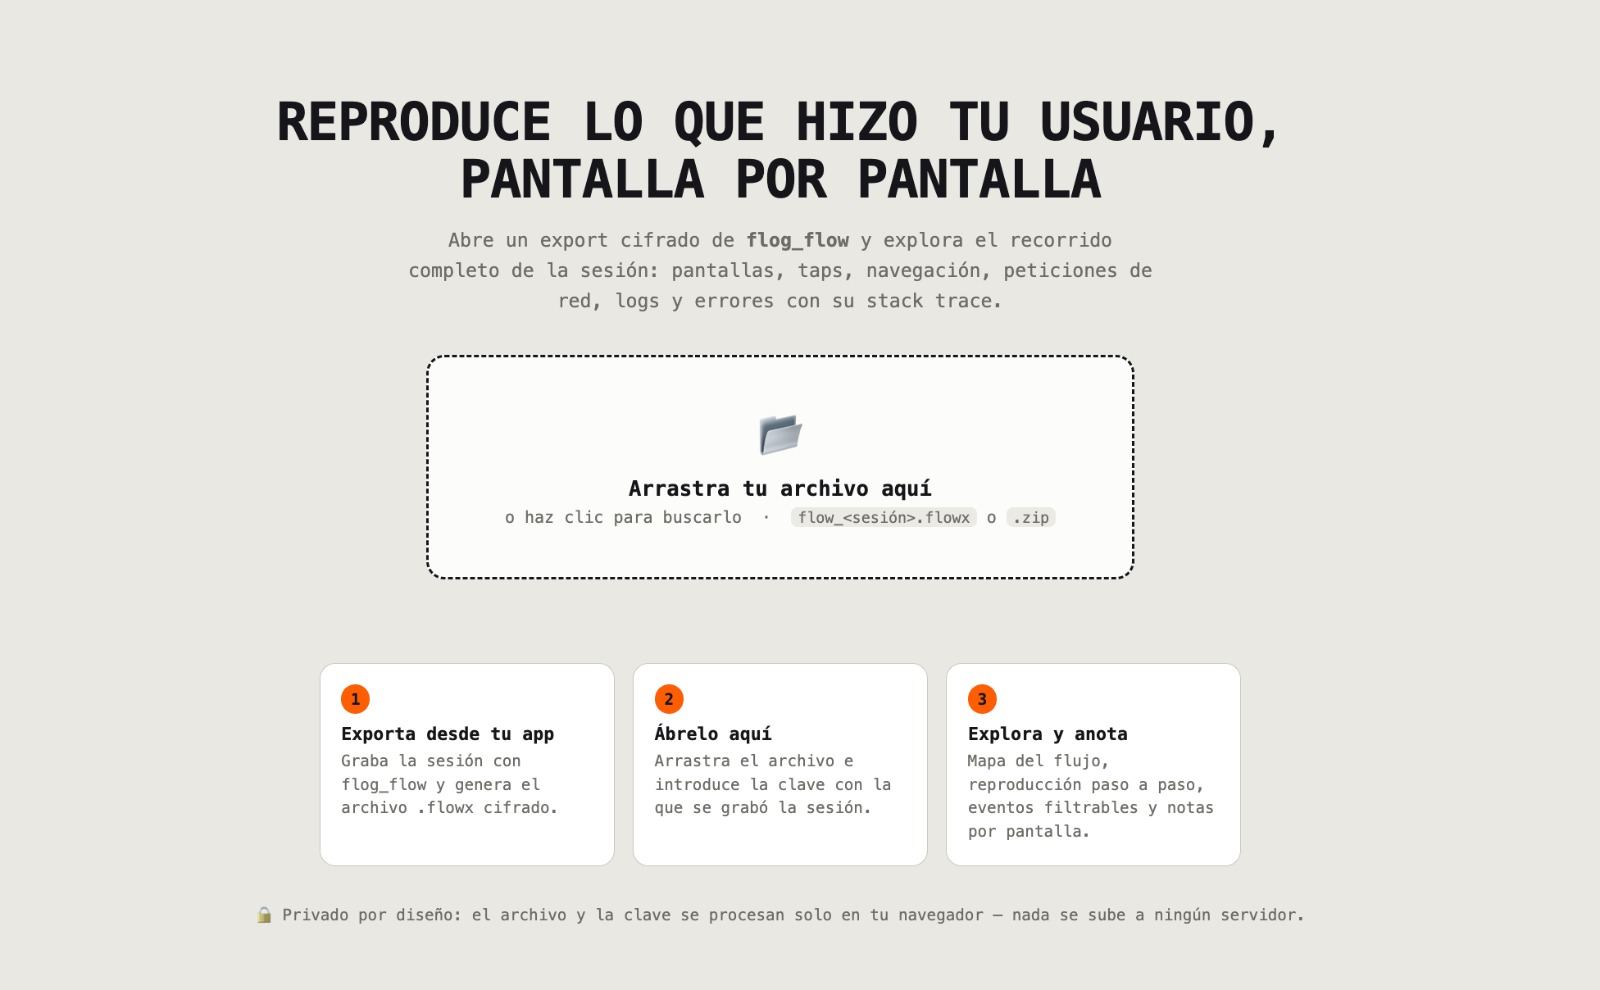
Record on your device, export an encrypted
.flowx file, and open it in the web viewer. Ideal for getting to know
the library before creating an account.
// same MaterialApp wiring as in Replay (observer + scope)

await FlogFlow.instance.start(
  appName: 'MyApp',
  config: const CaptureConfig(encryptionPassphrase: 'MY-PASSPHRASE'),
);

// ...use your app as usual...

final file = await FlogFlow.instance.export(); // → .flowx file
await FlogFlow.instance.stop();Open the web viewer,
drop in your .flowx and enter your passphrase. You can also look at a
sample session without recording anything.
Wrap cards, passwords, or PII with RedactedZone(child: …):
they're blacked out in captures without changing your UI.
In production, fetch the encryptionPassphrase from your backend or
remote config instead of leaving it in the code.
With recordOnErrorOnly: true you record everything but only keep
the session if an error occurred. Perfect for leaving it always on.
Self-hosting? Pass endpoint: 'https://your-server.com' to
FlogCloud.start / FlogLogs.init. From the
Android emulator, your localhost is http://10.0.2.2:8787.
After login: FlogLogs.setGlobalAttribute('userId', id) and/or
userId: in start(). Careful with PII.
If you use Dio: dio.interceptors.add(FlogDioInterceptor()) and
captureNetwork: true. By default it stores neither headers nor bodies.